You have spent hours placing tiny beads into a perfect pattern. The last thing you want is to ruin it during ironing. Yet ironing is where most fuse bead projects go wrong. Over-melted beads, warped boards, and uneven fusing are common frustrations, but they are also entirely preventable. This guide walks you through the most frequent ironing mistakes and gives you practical, step-by-step solutions so your projects come out smooth, durable, and exactly as you imagined.
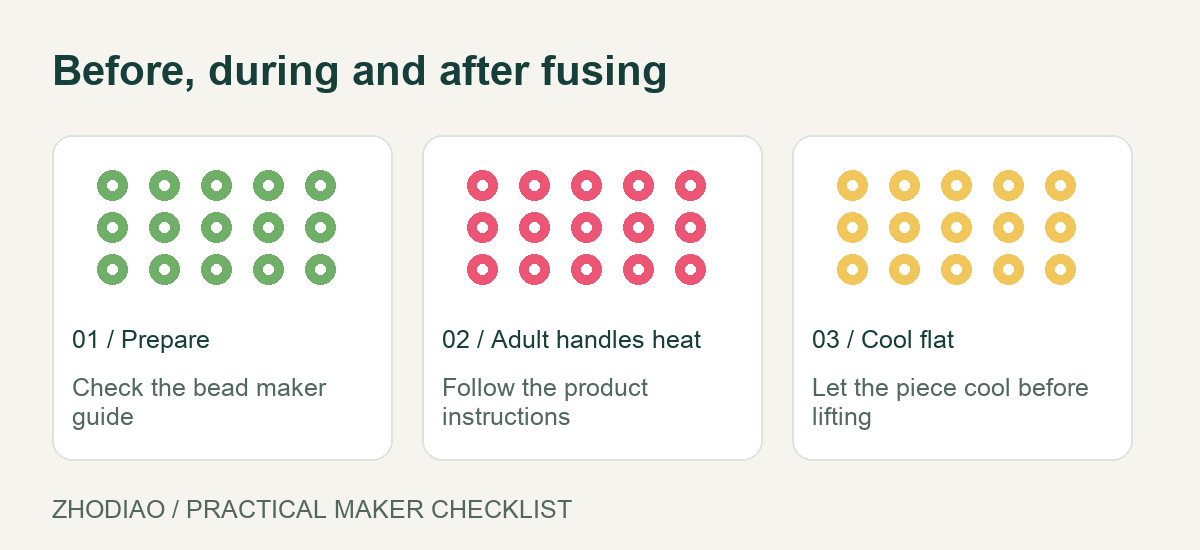
Mistake 1: Using Too Much Heat or Ironing Too Long
The most common mistake is overheating. Fuse beads are made of plastic that melts quickly. When your iron is too hot or you hold it in one place too long, the beads lose their shape, colors bleed, and the project becomes a flat, glossy mess. You might also melt the pegboard itself, which ruins both the board and your design.
How to avoid it:
- Set your iron to a low-to-medium heat, typically the “synthetic” or “silk” setting. Avoid steam entirely.
- Iron in circular motions for 10–15 seconds at a time, then lift the iron and check progress.
- Use a pressing cloth or parchment paper between the iron and the beads to diffuse heat.
- If you see beads turning glossy or losing their hole shape, stop immediately. You have already fused enough.
Remember, you can always iron more, but you cannot un-melt a bead. For a deeper dive into heat settings and tools, see this fuse bead ironing guide.
Mistake 2: Uneven Pressure and Inconsistent Motion
Pressing hard in one spot and barely touching another creates uneven fusing. Some beads will be fully melted while others remain loose and fall off later. This is especially common when you are impatient or trying to rush the process.
How to avoid it:
- Apply gentle, even pressure. Let the heat do the work, not your muscles.
- Move the iron slowly and steadily across the entire design. Overlap your passes slightly.
- Work in sections for larger projects. Iron one area, then move to the next, keeping track of where you have been.
- Use both hands if needed to keep the iron flat and balanced.
Consistency is key. A steady, rhythmic motion gives you a uniform fuse that looks professional and holds up to handling.
Mistake 3: Skipping the Parchment Paper or Using the Wrong Cover
Ironing directly onto beads without a protective layer is a recipe for disaster. The beads will stick to your iron, smear, and ruin both the project and the iron. Wax paper is a popular choice, but it can leave residue or melt into the beads. Parchment paper is the safest option.
How to avoid it:
- Always use a sheet of parchment paper between the iron and the beads. It allows heat to pass through while preventing sticking.
- Do not use wax paper, aluminum foil, or paper towels. They either melt, stick, or conduct heat unevenly.
- Replace parchment paper if it becomes wrinkled or dirty. Wrinkles can transfer to your design.
- For extra protection, place a second sheet of parchment paper under the pegboard if you are worried about heat damage to your table.
If you are unsure which materials are safe, check a reliable fuse bead supplies resource before you start.
Mistake 4: Removing the Project Too Soon or Too Late
Timing is everything. If you remove the project while it is still hot, the beads can shift, warp, or separate. If you wait too long, the beads may cool and stick to the pegboard, making removal difficult and risking breakage.
How to avoid it:
- Let the project cool for 1–2 minutes after ironing. It should be warm but not hot to the touch.
- Gently lift one corner with a flat tool like a craft knife or spatula. If it resists, wait another minute.
- Place the fused design under a heavy book or flat object while it cools completely. This prevents curling and warping.
- If the beads stick to the pegboard, do not force them. Reheat the board briefly with the iron (with parchment paper) and try again.
Patience here saves you from heartbreak later.
Mistake 5: Ignoring Bead Type and Size Differences
Not all fuse beads are the same. Some brands melt at different temperatures, and different sizes (midi, mini, and maxi) require adjusted ironing times. Using a one-size-fits-all approach can lead to under- or over-melting.
How to avoid it:
- Test a small sample of beads from your batch before ironing your main project. This tells you how quickly they melt.
- Adjust your ironing time based on bead size: mini beads melt faster, maxi beads need a bit more time.
- Keep beads from different brands separate if possible. Mixing them can cause uneven fusing.
- For color-specific tips and palettes, explore color palettes that work well together.
Knowing your materials helps you avoid surprises.
Mistake 6: Not Checking the Fuse Before It Cools
Once the beads cool, the fuse is set. If you notice a loose bead or an unfused spot after cooling, you have to re-iron, which can damage the surrounding area. The best time to check is while the project is still warm and pliable.
How to avoid it:
- After ironing, carefully lift the parchment paper and inspect the design. Look for beads that have not merged with their neighbors.
- If you find a spot, place the parchment paper back and iron that area for a few seconds.
- Check the edges and corners, which often need extra attention.
- Once satisfied, let it cool completely under a flat weight.
This quick inspection takes seconds and prevents a lot of frustration.
Mistake 7: Forgetting to Prepare Your Workspace
A cluttered or unstable workspace leads to accidents. If your pegboard is on a soft or uneven surface, the beads can shift during ironing. If your iron is dirty, it can transfer residue to your project.
How to avoid it:
- Work on a flat, heat-resistant surface. A wooden cutting board or a dedicated craft mat works well.
- Clean your iron soleplate before use. Any melted plastic from previous projects will ruin your new design.
- Keep your beads organized and within reach. You do not want to be searching for a bead while the iron is hot.
- Use a pegboard that is the right size for your project. A board that is too small can cause beads to fall off the edge.
For beginners, a solid beginner guide can help you set up properly from the start.
Final Thoughts: Practice Makes Perfect Fuses
Ironing fuse beads is a skill that improves with practice. Start with small, simple designs to build your confidence. Pay attention to heat, pressure, and timing. Always use parchment paper, and never rush the cooling process. If you make a mistake, do not throw the project away—many issues can be fixed with a quick re-iron. And remember, the fuse bead community is full of helpful resources. For pattern ideas and troubleshooting, visit free patterns and matching supplies at Fusedots for more tips. With a little care, your fuse bead projects will look clean, sturdy, and professional every time.