Starting a new craft can feel overwhelming, especially when you see intricate designs online. Fuse beads, also known as Perler or Hama beads, are a fantastic entry point because they are forgiving, affordable, and endlessly customizable. But where do you begin? The answer is simple: start with easy animal patterns. Animals are universally appealing, and their shapes are often based on basic geometric forms that beginners can master quickly. This guide will walk you through the essential tools, beginner-friendly techniques, and a handful of easy animal fuse bead patterns that will build your confidence and spark your creativity.
Why Animal Patterns Are Perfect for Beginners
Animal designs offer a sweet spot between simplicity and charm. Unlike complex landscapes or detailed characters, most animals can be broken down into circles, ovals, and triangles. A round head, two small ears, and a tiny body—suddenly you have a bear. This geometric simplicity means you can focus on learning the rhythm of placing beads without getting lost in hundreds of color changes. Plus, animal patterns are forgiving; if you place a bead one peg over, it often still looks like the intended creature. This low-pressure approach helps new crafters develop fine motor skills and color recognition while producing something they are proud to display.
Another advantage is the emotional payoff. Making a small animal gives you a finished object in under an hour, which is perfect for short attention spans or busy schedules. Whether you are crafting with kids or enjoying a quiet solo hobby, easy animal patterns provide immediate gratification and a reason to keep going.
Essential Supplies and Setup for Your First Project
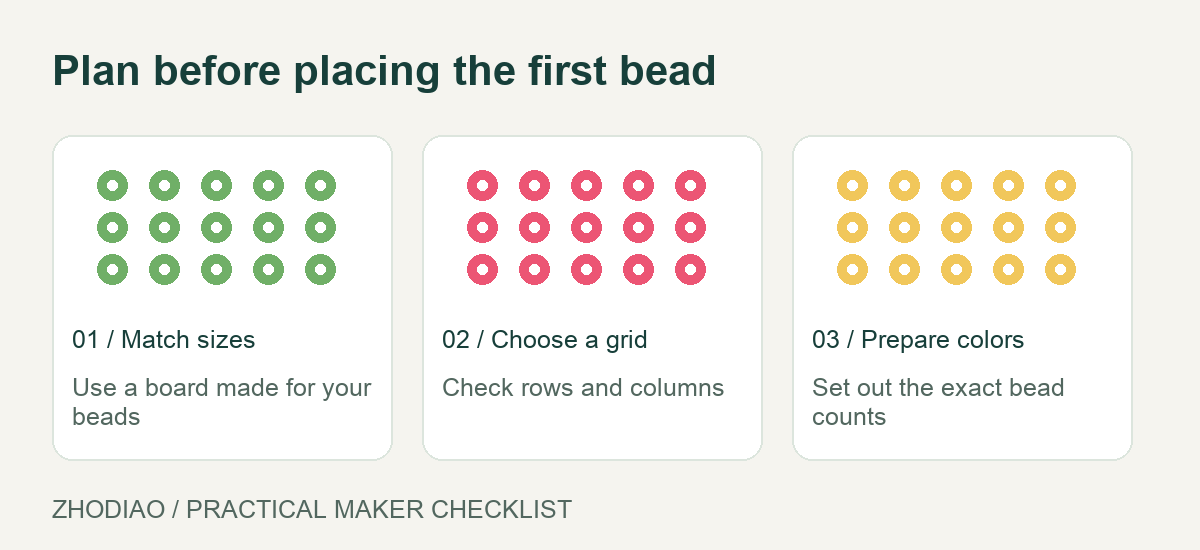
Before you dive into patterns, gather the right materials. You will need fuse beads in a few basic colors, a pegboard (square or hexagonal), tweezers for precise placement, and ironing paper. An iron is essential for melting the beads together. For a smooth start, choose a clear or white pegboard so you can see your pattern underneath. A reliable source for fuse beads and pegboards can help you find starter kits that include everything you need.
Set up a well-lit workspace with a flat surface. Keep beads in small, separated containers to avoid mixing colors. Tweezers are not mandatory but they make placing tiny beads much easier, especially for details like eyes. If you are crafting with children, supervise the ironing step closely, as irons get very hot. Always place your finished design on a heat-resistant surface before ironing.
Step-by-Step: Your First Animal Pattern (A Simple Cat)
The classic cat face is an ideal first project. It uses basic colors and a symmetrical shape that is easy to follow. Here is how to make it:
- Create the head: On a square pegboard, form a circle about 7 beads wide and 7 beads tall using a main color like black, white, or orange.
- Add ears: On the top left and top right of the circle, build two small triangles, each made of 3 beads in a row, then 2, then 1. Use the same color as the head or a contrasting color.
- Place the eyes: Inside the head, leave two empty pegs for eyes. Fill them with a contrasting color like green or blue. Add a single black bead in the center of each eye for a pupil.
- Form the nose and mouth: Below the eyes, place one pink bead for the nose. Under it, add two black beads side by side to suggest a mouth.
- Check symmetry: Look at your design from above. Adjust any beads that seem off to keep the face balanced.
Once the pattern is complete, cover it with ironing paper and iron on a low-to-medium setting (no steam) in circular motions for about 10-15 seconds. Let it cool, then peel off the paper. Your cat is ready to become a magnet, keychain, or coaster.
Three More Easy Animal Patterns to Try
After mastering the cat, expand your skills with these beginner-friendly designs. Each uses fewer than 100 beads and simple shapes.
1. Round Penguin
Start with a black oval body about 9 beads tall. Add a white oval for the belly, leaving a black border. Place two small orange triangles for feet at the bottom. For the face, use two white beads with black pupils, and a tiny orange triangle for the beak. This pattern teaches color blocking and contrast.
2. Simple Dog Face
Use a light brown circle for the head. Add two floppy ears by extending 3-4 beads down on each side. Place two black beads for eyes and a larger black bead for the nose. A small pink bead below the nose can suggest a tongue. This design is great for practicing asymmetrical shapes.
3. Little Butterfly
Butterflies are symmetrical and colorful, making them perfect for using up leftover beads. Create a small oval body in black or brown. On each side, build two wings: a larger top wing (a diamond shape) and a smaller bottom wing (a triangle). Use bright colors like pink, blue, and yellow. Add antennae with two thin black lines. For more free pattern inspiration, explore this collection of fuse bead patterns.
Tips for Success and Troubleshooting
Even simple patterns can have hiccups. Here are common issues and how to fix them:
- Beads not melting evenly: Your iron may be too hot or you are pressing too hard. Use a lower setting and move the iron in small circles. Check after 10 seconds.
- Warped design: Ironing only one side can cause curling. After cooling, flip the design and iron the other side briefly under a heavy book.
- Missing beads: Count your beads before starting. Having a few extra in each color saves a trip to the store.
- Color choices: If you are unsure about a palette, check curated color palettes for fuse beads to see what works well together.
Remember that fuse beads are plastic; always iron in a ventilated area and avoid inhaling fumes. Keep finished pieces away from small children who might put them in their mouths.
Displaying and Using Your Animal Creations
Once your animals are fused, they can become practical items. Glue a magnet to the back for a fridge decoration. Attach a keychain ring to make a zipper pull. Or string them into a mobile or garland. For larger projects, you can connect multiple pegboards to create a scene, like a cat and dog sitting together. If you want to explore more advanced techniques and materials, this resource for fuse bead crafters offers helpful guidance. And for a deeper dive into the hobby, consider reading a beginner’s guide to fuse beads to expand your skills.
Conclusion
Easy animal fuse bead patterns are a wonderful way to enter the world of pixel art crafting. They require minimal supplies, offer quick results, and leave plenty of room for personalization. Start with the simple cat, then branch out to penguins, dogs, and butterflies. As you gain confidence, you can modify patterns, change colors, and even design your own creatures. The key is to enjoy the process, learn from small mistakes, and celebrate each finished piece. Before you know it, you will have a whole menagerie of fused bead animals to share and display.