Building a fuse bead mosaic one bead at a time is slow, and small errors in spacing can throw off the whole picture. Pre-made square tiles solve much of that problem: each tile is already a fixed grid of beads, so rows stay true and large areas fill in quickly. The catch is that tiles introduce their own issues, such as visible seams, uneven melting between tiles, and color runs that look blocky instead of smooth. This guide walks through a practical tile-based workflow so your finished mosaic looks intentional rather than pieced together.
Understand what tiles do and do not solve
A fuse bead tile is a square section of beads, usually joined or held in a fixed grid, that you place as one unit. Tiles are excellent for backgrounds, borders, sky, water, and other broad color fields. They are less useful for fine detail, where you will still want to place individual beads for eyes, lettering, or small shapes.
Two practical points matter before you start:
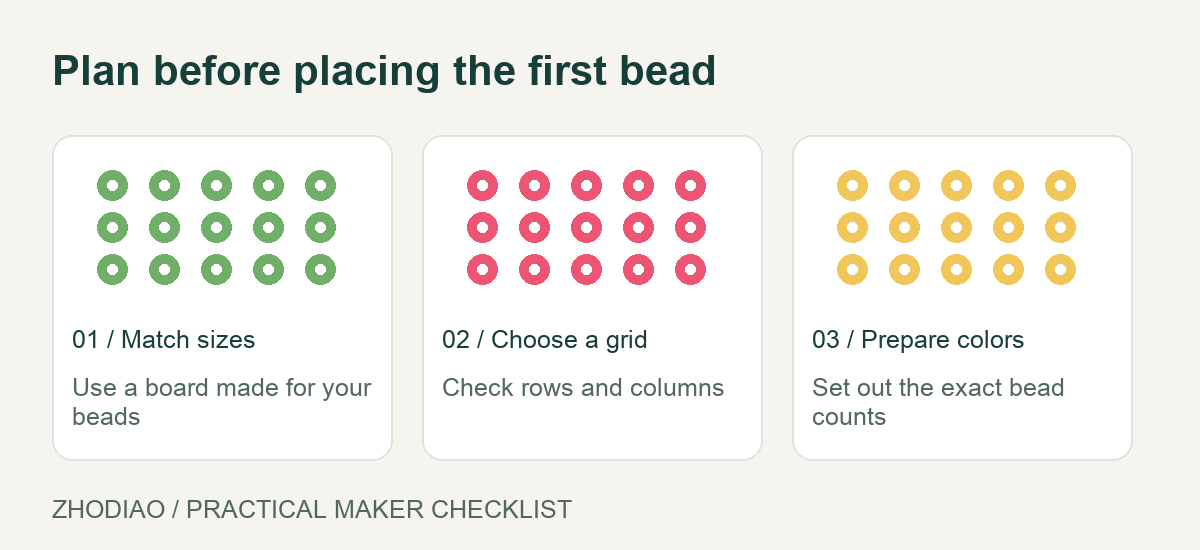
- Tile size must match your bead grid. A tile that covers, say, a 5×5 bead area will only align with your pegboard if the board’s peg spacing matches the bead diameter. Measure and test-fit one tile before committing to a design.
- Tiles are not all identical. Slight differences in bead height or how tightly beads sit in a tile can cause uneven fusing. Sort tiles by type and keep one brand or style consistent within a single project where possible.
If you are new to the medium, the beginner guides at zhodiao.com/beginner-guides/ cover pegboard basics that apply directly to tile work.
Plan the mosaic on a grid before touching a bead
The most common failure in tile mosaics is a design that ignores the grid. Because every tile is a block, your image needs to be simplified into blocks first. Work on graph paper or a spreadsheet where each cell equals one bead.
Step 1: Choose a design that suits blocky construction
Landscapes, flags, geometric patterns, pixel-art characters, and simple icons work well. Photorealistic portraits and gradients fight the grid and usually look muddy. If you want a gradient, plan it as a series of distinct color bands rather than a smooth blend.
Step 2: Map tiles onto the grid
Draw your tile boundaries over the design. A tile grid of 5×5 beads means every color change must happen on a tile edge or be handled with loose beads. Mark which areas will be tile-filled and which will be loose-bead detail. This step prevents the awkward moment where a tile covers a spot you needed for a single accent bead.
Step 3: Limit your palette
Too many similar shades create seams that read as mistakes. Choose a palette of roughly six to twelve colors and assign each one a clear role: base, shadow, highlight, outline. Ready-made palette ideas are available at zhodiao.com/color-palettes/ if you want a starting point. For purchasing specific shades, the color range at Fuse Dots color supplies lets you match tiles and loose beads from the same line.
Assemble the mosaic tile by tile
Work on a pegboard that is large enough to hold the full design with a bead or two of margin. Tape the board to the table so it cannot shift while you press tiles down.
- Start from a corner, not the center. A corner anchor keeps tile edges aligned. Press the first tile firmly so its pegs seat fully.
- Build outward in rows. Complete one row of tiles before starting the next. This keeps seams straight and makes gaps obvious early.
- Fill detail areas with loose beads. Place individual beads only after the tile field is complete, so you can see exactly how many cells remain.
- Check the whole board against your plan. Photograph the board and compare it to your grid drawing. Errors are far easier to fix before fusing.
Use a straightedge or a spare tile as a spacer to confirm seams are consistent. If a tile sits slightly proud of its neighbors, reseat it rather than ironing over the problem.
Iron evenly so seams and tiles fuse as one piece
Uneven ironing is the main reason tile mosaics warp, curl, or split along tile boundaries. The goal is to melt every bead to the same degree, not to melt as fast as possible.
- Cover the work with ironing paper and keep the iron moving in slow, overlapping circles. Do not hold it still over one tile.
- Work in passes. Make one light pass over the entire board, let it cool briefly, then repeat. Several gentle passes distribute heat more evenly than one long press.
- Watch for tile outlines. If the square edges of tiles remain sharply visible after fusing, add another light pass rather than pressing harder.
- Flip and fuse the back. Fusing both sides locks the tiles together and reduces curling. Let the piece cool completely under a flat weight, such as a book on baking paper.
Keep your iron temperature consistent with your bead type, and test on a scrap tile first. A small test piece tells you exactly how many passes your beads need before you commit a large mosaic.
Finish, mount, and display the piece
After fusing, trim any stray plastic with small sharp scissors and check for loose beads along the edges. If the mosaic will hang, attach mounting hardware to a backing board rather than drilling the fused plastic.
For display, consider framing the mosaic behind glass or mounting it on a rigid panel. Tiles create a slightly textured surface, so raking light will highlight seams; a matte backing and soft lighting minimize that effect. Smaller tile mosaics can become coasters or keychain panels, and the keychain blanks at Fuse Dots keychain supplies suit compact designs. If you want more patterns to adapt into tile form, browse the free patterns at zhodiao.com/free-patterns/.
Conclusion
A fuse bead mosaic built from tiles succeeds when you treat the tile as a design unit rather than a shortcut. Plan on a grid, keep tile boundaries aligned with your color changes, fill detail with loose beads, and iron in several gentle passes so the whole piece fuses into a single flat panel. Test one tile on your board and one scrap piece under your iron before starting, and the rest of the project becomes predictable. With that groundwork, tiles let you build larger mosaics faster without sacrificing the clean, even finish that makes the finished piece look deliberate.