Fuse beads, also known as Perler beads or Hama beads, are a fun and accessible way to create pixel art. But if you’ve ever finished a project and felt it looked flat, you’re not alone. The key to making your designs pop is shading. With the right color choices and placement, you can turn a simple outline into a dimensional piece. In this article, we’ll show you how to create simple shading using fuse bead colors, no advanced skills required.
Why Shading Matters in Fuse Bead Art
Shading is what gives a two-dimensional object the illusion of depth. In pixel art, each bead acts as a pixel, and by varying the colors, you can simulate light and shadow. Without shading, your design may look like a flat sticker. With shading, it becomes a mini artwork that catches the eye. The good news is that fuse beads come in a wide range of colors, making it easy to create smooth transitions. You can find a variety of palettes to suit your project at matching supplies at Fusedots.
Understanding Light and Shadow
Before you start placing beads, it helps to understand how light interacts with objects. Imagine a light source, such as a lamp or the sun, shining on your subject. The side facing the light will be brighter, while the opposite side will be darker. There will also be a mid-tone where the light gradually fades. By replicating this with beads, you create a sense of volume.
Choosing Your Light Source
Decide where your light is coming from. For simplicity, choose a single light source, like from the top left. This means highlights will be on the top left, and shadows on the bottom right. Consistency is key; if you mix light directions, the shading will look confusing.
Selecting Colors for Shading
The colors you choose are crucial. You don’t need hundreds of beads, but you do need a few shades of each color. For example, if you’re working with blue, gather a light blue, a medium blue, and a dark blue. These three shades can create a basic gradient. For more complex shading, you can add even more steps, but start simple.
Creating a Gradient with Beads
A gradient is a gradual transition from light to dark. To make one, arrange your beads in rows or columns, starting with the lightest shade on the side facing the light, then the medium shade, and finally the darkest shade. The key is to make the transition smooth by alternating beads at the boundaries. For instance, if you have a row of light blue and a row of medium blue, you can place a few medium blue beads in the light blue row to blend them. This technique is often used in pixel art and works well with fuse beads.
Step-by-Step: Shading a Simple Shape
Let’s apply shading to a simple circle, like a ball. Follow these steps:
- Outline: Start with a black outline of the circle on your pegboard.
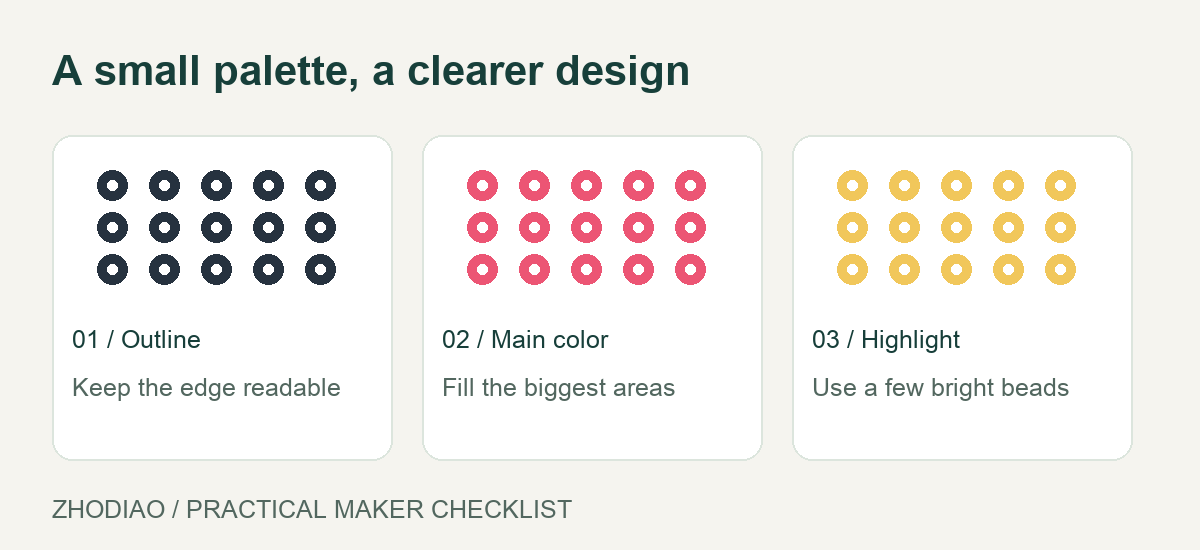
- Base color: Fill the circle with your medium shade. This is your base.
- Highlight: On the top left, replace some medium beads with light shade beads. The highlight should be small, just a few beads.
- Shadow: On the bottom right, replace medium beads with dark shade beads. The shadow can be larger than the highlight.
- Blend: At the edges between highlight and base, and base and shadow, place a few beads of the adjacent shade to create a smooth transition.
- Iron and finish: Once satisfied, iron your project according to the bead manufacturer’s instructions.
This method works for any shape. For more complex designs, you can apply the same principles to each part. If you need inspiration, check out the free patterns available at Zhodiao’s free patterns.
Using Highlights and Shadows Effectively
Highlights are the brightest spots where light hits directly. They are usually small and can be white or a very light shade of the base color. Shadows are the darkest areas, often on the opposite side. They can be black or a dark shade of the base color. To make your shading look realistic, avoid using pure black for shadows unless the object is black; instead, use a darker version of the base color. Similarly, use a lighter version for highlights. This keeps the color harmony intact.
Common Mistakes and How to Avoid Them
- Too many colors: Using too many shades can make the design look noisy. Stick to 3-4 shades per color.
- Inconsistent light source: If highlights are on different sides, the shading looks wrong. Decide on one light direction and stick to it.
- Harsh transitions: Jumping from light to dark without a mid-tone creates a harsh line. Always include a mid-tone and blend.
- Forgetting the base: The base color is the main color of the object. Don’t cover it entirely with highlights and shadows.
By avoiding these mistakes, your fuse bead art will look more polished. For more tips on materials and techniques, visit Zhodiao’s beginner guide.
Practice Projects to Try
To improve your shading skills, try these simple projects:
- A sphere: As described above, practice creating a smooth gradient.
- A cube: Shade three faces differently to show different angles to the light.
- A leaf: Use green shades to create veins and curves.
- A character: Apply shading to clothes, hair, and skin for a 3D effect.
Each project will teach you something new. Remember, the more you practice, the better you’ll get at judging color placement. You can find color palettes to help you choose shades at Zhodiao’s color palettes.
Tools and Materials for Shading
While the beads themselves are the most important, having the right tools can make shading easier. A good pegboard with clear grid lines helps with precise placement. Tweezers are useful for placing individual beads, especially when blending. And of course, a reliable iron for fusing. For a selection of beads and tools, check out matching supplies at Fusedots.
Conclusion
Creating simple shading with fuse beads is all about observing light and shadow and translating that into color choices. Start with a single light source, choose three shades of your base color, and practice blending. With a bit of patience, your flat bead art will gain depth and realism. Remember, every pixel counts. So grab your beads, pick a simple shape, and start shading today. Your projects will thank you.