You’ve spent hours placing tiny beads into a pattern. The front looks great, but the back? It’s often a fragile, bumpy mess that can snag, crack, or simply look unfinished. Finishing both sides of a fuse bead project not only makes it more durable but also elevates it from a craft to a polished piece. Whether you’re making a keychain, a coaster, or a wall art, this guide will show you how to give both sides a clean, professional finish.
Why Bother Finishing the Back?
Many crafters iron only the front, leaving the back with exposed bead holes and a rough texture. This can cause problems: the project may be weak and prone to breaking, the back can snag on clothing or bags, and it just doesn’t look as good. By finishing both sides, you create a sturdy, reversible piece that can be displayed from any angle. Plus, if your project is a gift or something you plan to sell, a finished back shows attention to detail.
Method 1: Double-Sided Ironing
The most straightforward way to finish both sides is to iron both sides. This fuses the beads on both faces, creating a solid, flat piece. Here’s how to do it without ruining your design.
Step-by-Step Double Ironing
- Prepare your workspace. Place your bead project on a heat-resistant surface, like a silicone mat or a piece of parchment paper on an ironing board. Never iron directly on a bare table.
- Iron the front first. Cover the beads with parchment paper. Set your iron to medium heat (no steam). Press evenly for about 10–15 seconds, moving the iron in small circles. Lift the paper to check if the beads are fusing. They should be slightly flattened but not melted into a blob.
- Flip carefully. Wait a few seconds for the project to cool slightly, then flip it over. If some beads fall out, that’s normal—just place them back.
- Iron the back. Cover with parchment paper again and iron the back in the same way. This will fuse the other side.
- Check for evenness. Hold the project up to a light. If you see gaps or unfused beads, iron a bit more. But be careful not to over-iron, as it can close the bead holes completely and make the project stiff.
Double-sided ironing works well for flat projects like coasters or bookmarks. However, it can make the piece slightly thicker and may distort the bead holes, which matters if you plan to add jump rings later. For more tips on ironing techniques, see our fuse bead ironing guide.
Method 2: Mounting on a Backing
If you want to keep the front side with open bead holes (for a textured look) or if your project is delicate, mounting it on a backing is an excellent alternative. This method covers the back with a solid material, giving it a clean finish and added strength.
Choosing a Backing Material
- Felt: Soft, comes in many colors, and easy to cut. Use craft glue or hot glue to attach.
- Cardstock or chipboard: Sturdy and inexpensive. Great for flat projects like magnets or framed art.
- Wood or acrylic blank: For a high-end look, glue your bead design onto a pre-cut shape.
- Another fuse bead piece: Create a mirror image and iron them together for a double-sided design.
To mount, trace your project onto the backing material, cut it slightly smaller than the outline, and glue it to the back. This hides the rough bead edges and gives a professional finish. For more material ideas, check our materials guide.
Method 3: Sealing with Resin or Glue
For a glossy, durable finish on both sides, you can seal your project with a clear coating. This is popular for jewelry and keychains. Epoxy resin gives a glass-like finish but requires careful mixing and curing. Alternatively, use a clear craft glue or Mod Podge. Apply a thin layer to the back with a foam brush, let it dry, and repeat if needed. This fills in the bead holes and creates a smooth surface. Note: Resin can be tricky to work with, so practice on a test piece first. Always follow the manufacturer’s safety instructions and work in a well-ventilated area.
Method 4: The Tape and Iron Hybrid
This method combines the best of both worlds: you iron the front for a fused look, then use double-sided tape or adhesive sheets to attach a backing. It’s quick and doesn’t require a second ironing. Simply apply strong double-sided tape to the back of your project, then press it onto felt or cardstock. Trim the excess. This is great for projects where you want to preserve the open holes on the front. For more advanced techniques, see our advanced finishing tips.
Tips for a Flawless Finish
- Test your iron temperature. Different bead brands melt at different rates. Always test on a small sample.
- Use parchment paper. It prevents beads from sticking to the iron and distributes heat evenly.
- Work in a well-ventilated area. Melting plastic can release fumes.
- Don’t over-iron. Over-ironing can close the holes and make the project look flat. Aim for a slight texture.
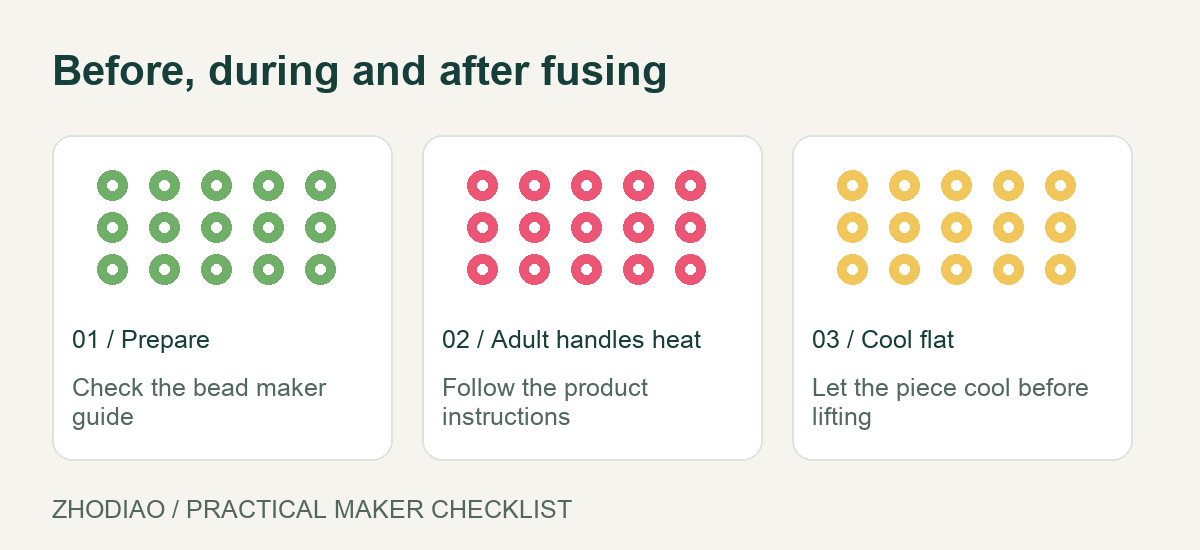
- Let it cool completely. Before handling or gluing, let the project cool for at least 10 minutes.
Which Method Should You Choose?
It depends on your project and desired look. For flat, sturdy items like coasters, double-sided ironing is quick and effective. For jewelry or keychains where you want a smooth, glossy finish, sealing with resin or glue works well. For a soft, colorful back, mounting on felt is ideal. And if you want to keep the front open, the tape and iron hybrid is a good choice. Experiment with different methods to see what works best for you. For pattern ideas that work well with these finishing techniques, browse our free patterns.
Conclusion
Finishing both sides of your fuse bead project doesn’t have to be complicated. Whether you choose double ironing, mounting, sealing, or a hybrid method, the result is a more durable, professional-looking piece. Remember to work safely, test your materials, and take your time. With these techniques, your fuse bead creations will look great from every angle. For more inspiration and guides, visit our blog.