You have spent an hour placing tiny beads one by one, following a detailed pattern. Then you shift your hand, and a whole row slides out of place. Frustrating, right? Keeping fuse beads from shifting while you work is one of the most common challenges for beginners and experienced crafters alike. The good news: a few simple habits and tools can keep your design stable from the first bead to the final fuse.
Start with the right pegboard and surface
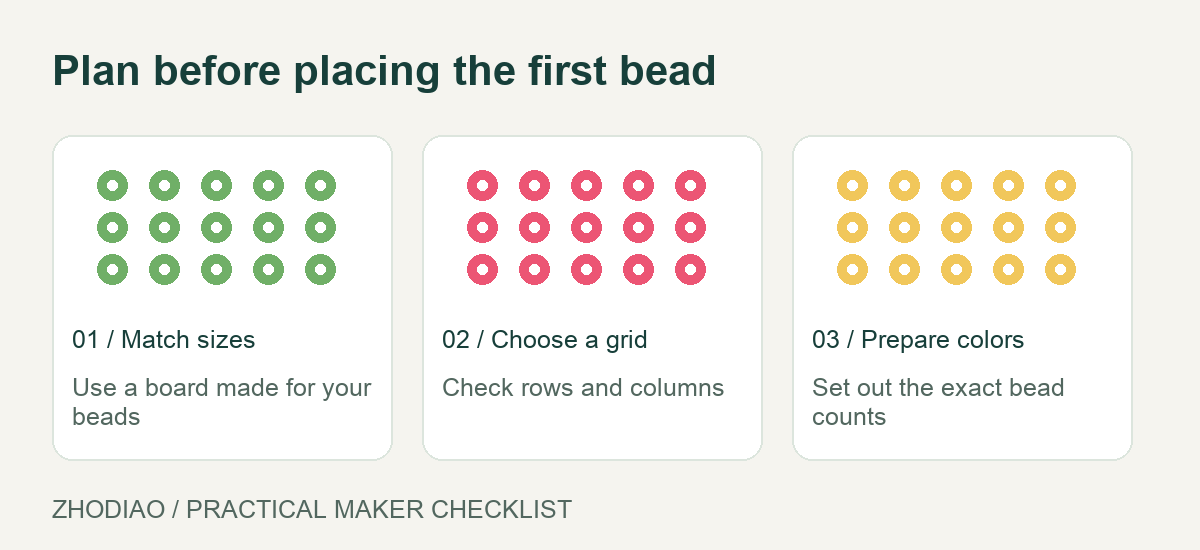
Not all pegboards are created equal. The classic clear plastic boards from Perler and Artkal have shallow pegs, which means beads can pop off easily if you bump them. If you are working on a large project, consider interlocking boards that lock together tightly. A wobbly board on a hard table is a recipe for disaster. Place a non-slip mat or a piece of felt under your pegboard. This simple addition grips the table and reduces the chance of the board sliding when you press down.
Also, work on a flat, stable surface. Avoid working on a bed or a couch cushion where the board can tilt. If you must work on a soft surface, place a large hardcover book underneath the pegboard for support. For more on choosing materials, see this guide to fuse bead materials.
Use the tape method to lock beads in place
The tape method is a game-changer for keeping fuse beads from shifting. Once your design is complete, you cover the beads with masking tape or painter’s tape before you iron. But you can also use tape during the building process to secure sections as you go. Here is how to do it:
- Place a strip of masking tape over a row or section of beads, pressing gently so the tape adheres to the beads but not so hard that it pushes them into the board.
- Continue building adjacent sections, taping each one down as you finish.
- When the entire design is taped, you can carefully flip the board over, remove the pegboard, and iron the back side. This prevents beads from moving during ironing.
Some crafters prefer to tape the entire design at once after placing all beads. Either way, tape adds a layer of security. Just be sure to use low-tack tape so it does not leave residue. For more tips on working with fuse beads, check out Fuse Dots.
Work in small sections and use a bead scoop
Instead of placing beads randomly across the board, work in small, manageable sections. Start at one corner and complete a 2-inch by 2-inch block before moving on. This reduces the chance of accidentally brushing against beads you have already placed. A bead scoop or a small spoon can help you pick up and place beads without touching the board with your hand. Tweezers are also useful for precise placement, especially for single beads in tight spots.
If you are following a complex pattern, print it out and mark off each section as you complete it. This keeps you organized and minimizes hand movement over the board. For free patterns to practice with, visit this pattern library.
Secure the board and your hands
Your hands can be your worst enemy when it comes to shifting beads. Before you start, wash and dry your hands to remove oils. Oils can make beads slippery. If you have long sleeves, roll them up or wear a short-sleeved shirt. Loose clothing can drag across the board and send beads flying. Also, consider wearing an apron or a craft smock that stays close to your body.
Another trick is to place the pegboard inside a shallow tray or a rimmed baking sheet. The rim acts as a barrier if beads slide off the edge. You can also use a piece of double-sided tape on the bottom of the pegboard to stick it to the tray. This keeps the board from moving when you press down with tweezers or a scoop.
Use a bead spinner or a sorting tray
If you are working with many beads of the same color, a bead spinner or a sorting tray can keep your beads organized and reduce the need to reach over the board. Pour a small amount of beads into a tray and pick them up with a scoop. This minimizes the risk of knocking over a container and spilling beads onto your design. Keeping your workspace tidy also means fewer distractions and less chance of accidental bumps.
Ironing without shifting
Ironing is the most critical moment. If you have not taped your design, you need to be extra careful. Use a piece of parchment paper over the beads and iron with a gentle, circular motion. Do not press down hard, as this can cause beads to shift. If you have taped your design, you can iron directly on the tape (tape side up) or remove the tape after ironing one side. For a detailed walkthrough of ironing techniques, see Fuse Dots.
Another option is to use a heat-resistant mat under the pegboard. This prevents the board from warping and keeps it stable. Always follow the manufacturer’s instructions for your iron and beads.
Practice and patience
Keeping fuse beads from shifting takes practice. Start with small projects to build your skills. As you get more comfortable, you can try larger designs. Remember that even experienced crafters occasionally bump their boards. The key is to have a system in place: a stable surface, tape, and careful hand movements. For beginners, this beginner’s guide offers a solid foundation.
Conclusion
Keeping fuse beads from shifting while you work is all about preparation and technique. Start with a non-slip surface, use tape to secure sections, work in small areas, and keep your hands and clothing in check. With these habits, you can enjoy a smoother, more relaxing crafting experience and protect your beautiful bead art from accidental bumps. Happy crafting!