Fuse beads — those small plastic cylinders that melt together under an iron — are one of the most forgiving materials for dollhouse miniatures. They are inexpensive, come in dozens of colors, and can be arranged into almost any flat shape. The catch is scale. A design that looks right on a full-size coaster can look clumsy on a 1:12 rug, and a piece that melts too much will warp and refuse to lie flat on a dollhouse floor.
This guide walks you through planning decorations that suit your dollhouse, building them on the pegboard, fusing them without distortion, and finishing them so they look intentional rather than like craft leftovers. It is aimed at beginners who already know the basic ironing method but want results that fit a miniature setting.
Start With Scale, Not With Patterns
Before you open a bead jar, decide what your dollhouse can actually hold. Most standard dollhouses are built at 1:12 scale, meaning one real inch equals twelve miniature inches. A standard midi fuse bead is about 5 mm across, which translates to roughly 6 cm (about 2.4 inches) at dollhouse size. That is a chunky rug fiber or a thick dinner plate rim.
This is why scale planning matters more than color choice. A few practical rules:
- Rugs and wall hangings can use midi beads because their chunkiness reads as texture from a distance.
- Plates, trays, and coasters work well in midi if you keep the design simple, but mini beads (about 2.6 mm) look more realistic.
- Picture frames, window boxes, and garden pavers are good midi projects because they are meant to look solid and slightly rustic.
- Food, tiny flowers, and jewelry-scale accessories are better in mini beads, or they will look like toy versions of themselves.
Measure the space first. Lay a ruler across the dollhouse floor where the rug will go, note the maximum width and length, and sketch your design within those limits before you place a single bead.
Choose Designs That Suit Miniature Rooms
The most convincing dollhouse decorations borrow from real miniature objects: flat woven rugs, round plates, rectangular picture frames, garden stepping stones, and simple window shutters. Avoid designs that rely on fine detail, such as faces or tiny lettering, because the bead grid will blur them.
Good starting projects include:
- Rectangular rugs with a border and a simple central motif — stripes, diamonds, or a single flower.
- Round plates built in a circle on a round pegboard, with a contrasting rim color.
- Picture frames made as a hollow rectangle, with a small printed image glued behind.
- Garden pavers and stepping stones in gray and sand tones for an outdoor scene.
- Coasters and trivets for a miniature kitchen table.
If you are new to designing on a grid, browse free bead patterns and adapt simple geometric motifs rather than copying detailed artwork. A border plus one central shape is usually enough to make a miniature rug read clearly. You can also borrow color combinations from curated bead color palettes so your rooms feel coordinated instead of random.
Build and Fuse Without Warping
The biggest problem with fuse bead miniatures is warping. Thin, flat pieces — exactly what dollhouse decorations tend to be — curl easily when the iron is too hot or held too long in one spot. Follow these steps for flatter results:
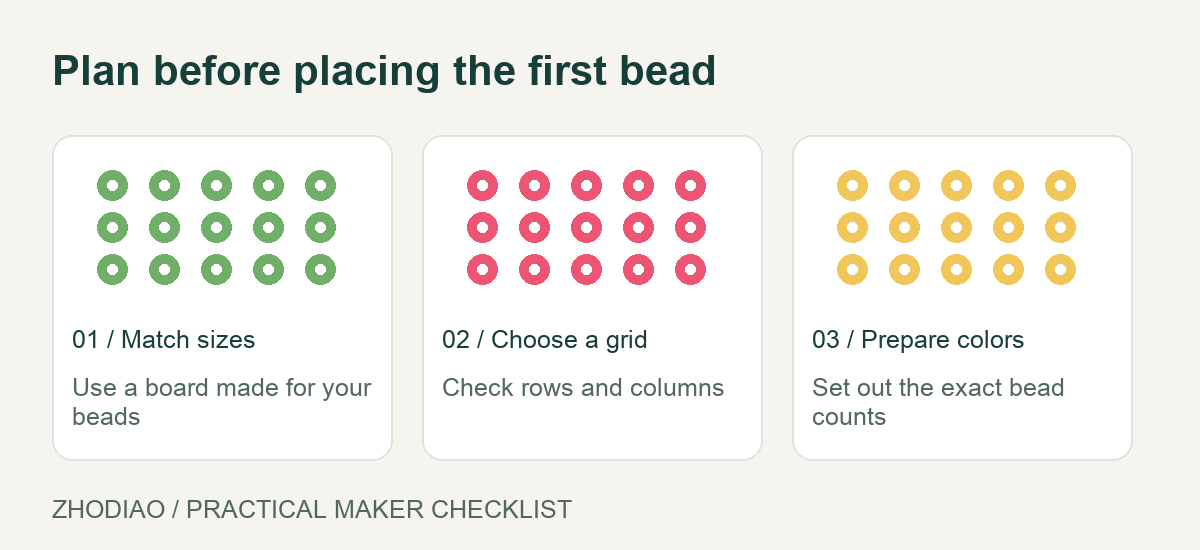
- Work on the correct pegboard. Use a board that matches the shape you need, and leave at least one row of empty pegs around the design so the edges stay clean.
- Check the layout against your measurements. Count pegs before fusing, because beads shift slightly and a rug that is one row too wide will not fit between dollhouse walls.
- Iron gently. Cover the design with ironing paper, set the iron to a low-to-medium setting with no steam, and move it in slow circles. Press just until the beads merge at the edges — usually a few seconds.
- Flip and fuse the back lightly. A second, brief pass on the reverse side adds stability without flattening the texture.
- Weight it while cooling. Place a heavy book or a flat board on the piece for several minutes. This is the single most effective way to prevent curling.
If you plan to make several pieces, a small set of matching pegboards and reliable ironing paper saves time. Basic fuse bead tools like tweezers also help when you are placing single beads in tight corners.
Finishing Touches That Make a Difference
Raw fused beads look like craft plastic. A few small finishing steps make them read as miniature objects:
- Trim stray melt. Use small scissors or a craft knife to remove any flattened edges.
- Add a backing. Glue felt or thin cardstock to the underside of rugs so they sit flush and do not scratch dollhouse floors.
- Seal lightly if needed. A thin coat of matte craft sealant can reduce the plastic shine, but test on a scrap piece first because some sealants react with the beads.
- Use glue sparingly. Tacky glue or a small dot of strong craft adhesive holds frames and plates in place without damaging the dollhouse.
Mix Fuse Beads With Other Miniature Materials
Fuse beads work best as part of a scene, not as the whole scene. Combine them with fabric scraps, balsa wood, polymer clay, and printed paper to add realism.
For example, a fused bead rug looks more convincing under a tiny wooden table than on an empty floor. A bead picture frame becomes a decoration once you glue a printed landscape behind it. Garden pavers read better when surrounded by a little faux moss or fine sand. This layering approach also hides the plastic look of the beads and lets you use simpler designs.
If you want to branch out into other miniature crafts alongside beadwork, the beginner guides cover basic techniques that pair well with fuse bead projects. And if you are still building your bead stash, color collections make it easier to match dollhouse interiors.
Conclusion
Fuse bead dollhouse decorations succeed when you plan for scale, keep designs simple, and finish pieces so they sit flat and look deliberate. Start with one small project — a rug or a plate — measure the space it needs to fill, and fuse it with a light hand. Once you see how a single well-made piece transforms a room, you can expand into frames, garden stones, and coordinated sets. The material is cheap enough to experiment with and forgiving enough that a mistake costs you a few minutes, not a whole afternoon.