Matching fuse bead keychains are a fun, personal way to celebrate friendships, relationships, or team spirit. But making them can be tricky: you want two keychains that look like a set, not just two random designs. You also need them to survive daily use without cracking or fading. This guide walks you through the entire process, from picking a theme to attaching the hardware, so you end up with a polished pair that truly matches.
Why Matching Keychains Are Worth the Effort
Unlike a single keychain, a matching set tells a story. It could be a heart split in two, a pair of favorite animals, or identical logos in different colors. The challenge is keeping them consistent. If one is slightly larger or uses a different bead brand, the match feels off. By planning both keychains together, you avoid mismatched sizes and colors. Plus, making two at once saves time—you can iron them in one session and assemble them back-to-back.
Designing a Coordinated Pair
Start with a clear concept. Ask yourself: what connects the two keychains? Common approaches include:
- Split image: A heart, star, or circle divided down the middle, with each keychain holding one half.
- Same motif, different colors: Two identical shapes, but one uses cool tones and the other warm tones.
- Complements: A sun and moon, a cat and dog, or two puzzle pieces that fit together.
- Initials or names: Each keychain features a letter or short name, connected by a shared border color.
Sketch your ideas on graph paper or use a free pattern maker. If you need inspiration, browse free patterns for symmetrical designs that split easily. Keep the overall size small—around 2 to 3 inches tall—so they don’t overwhelm a keyring.
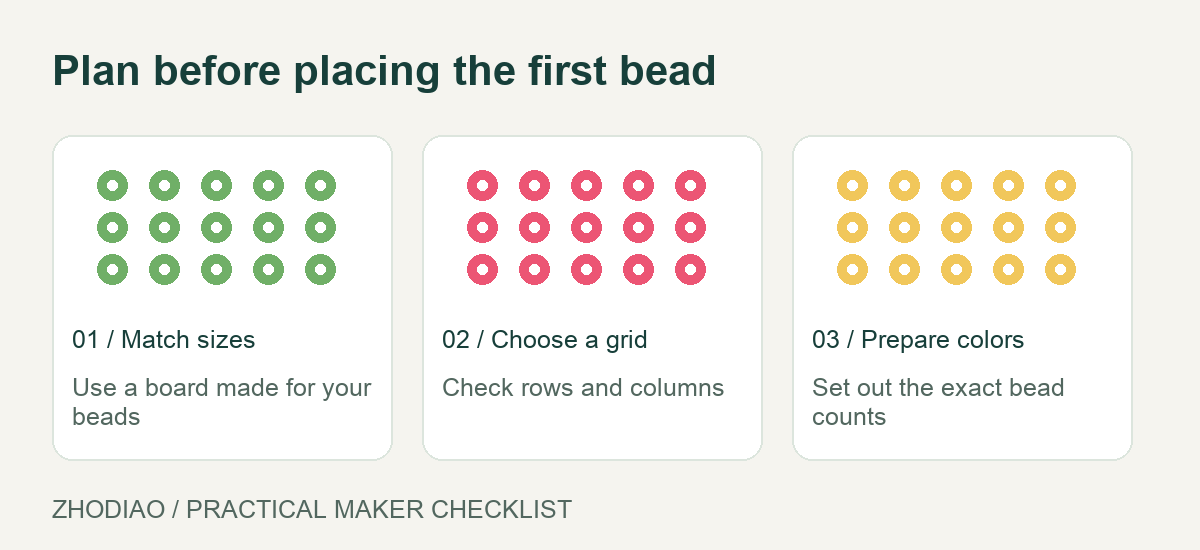
Choose a consistent bead size and brand. Mixing brands can lead to different melting points and slight color variations. For a truly seamless match, use the same bag of beads for both keychains. If you’re new to fuse beads, review a beginner guide to avoid common mistakes like over-ironing.
Selecting Colors and Materials
Color is where matching sets shine or fail. Decide on a palette before you start. A simple method is to pick one main color, one accent, and one neutral. For example, a pair of fox keychains might use orange as the main, white for the tail tip, and black for the eyes and nose. If you want a more nuanced palette, explore color palettes that show harmonious combinations.
Beyond beads, gather these materials:
- Pegboard (square or circular, depending on your design)
- Ironing paper
- Iron set to medium heat, no steam
- Keychain hardware: split rings, jump rings, or lobster clasps
- Small pliers (optional, for opening jump rings)
- Clear craft glue or super glue (for extra security)
For hardware, consider the weight of your finished piece. A 2-inch keychain is light enough for a standard split ring, but if you add a tassel or charm, use a stronger jump ring. You can find a variety of fuse bead supplies online, but local craft stores often carry the basics.
Step-by-Step: Making the Keychains
1. Prepare your workspace
Set up a flat, heat-resistant surface. Arrange your beads by color in small bowls or trays. Good lighting is essential—you’ll be placing tiny beads, and mistakes are hard to spot later.
2. Lay out the first keychain
Follow your pattern, placing beads one at a time. Use tweezers for tight spots. Count rows or use a pegboard with grid lines to keep symmetry. If your design is a split image, make sure the cut edge aligns with the pegboard’s edge so the two halves meet cleanly when placed side by side.
3. Repeat for the second keychain
Lay out the matching design. Double-check that colors and bead counts match. A common pitfall is reversing the design accidentally—especially with letters or asymmetrical shapes. Place both pegboards side by side to compare.
4. Iron the beads
Cover one design with ironing paper. With your iron on medium heat (no steam), press gently in circular motions for about 10–15 seconds. Lift the paper to check if the beads have fused. They should be joined but still show their holes. Over-ironing flattens the beads and can cause warping. Repeat for the second keychain, using the same iron settings and timing for consistency.
5. Cool and reinforce
Let the pieces cool completely under a heavy book or cutting board to prevent curling. Once cool, flip them over and iron the back side briefly if you want extra strength. For keychains that will get heavy use, apply a thin line of clear craft glue along the edges after cooling. This adds durability without changing the look.
6. Attach the hardware
Decide where the keyring will go. Usually, you’ll want a hole near the top. If your design doesn’t have a natural hole, you can iron a small loop of beads at the top, or use a jump ring through an existing bead hole. To attach:
- Open a jump ring by twisting, not pulling.
- Thread it through the top bead hole or loop.
- Add the split ring or lobster clasp.
- Close the jump ring securely.
Test the connection by tugging gently. If it feels loose, add a dab of glue to the knot or use a larger jump ring.
Tips for Durable, Attractive Results
- Consistent ironing: Iron both keychains for the same amount of time. Set a timer if needed.
- Reinforce stress points: The area around the keyring hole takes the most strain. Add an extra ring of beads or a metal grommet if possible.
- Seal with mod podge: A thin coat of clear sealant can protect against dirt and minor scratches, but test on a spare bead first.
- Store separately: To avoid scratches, keep the keychains in separate pouches when not in use.
- Personalize: Add tiny charms or beads that represent each person, like a birthstone color or a mini letter.
For more ideas on materials and techniques, check out this resource on fuse bead crafting.
Troubleshooting Common Issues
Keychains don’t match exactly: This often happens if you iron one longer than the other. Use a timer and the same iron setting. Also, ensure both designs use beads from the same batch, as dye lots can vary slightly.
Beads crack after ironing: This usually means the iron was too hot or you pressed too hard. Lower the heat and use gentle pressure. Let the beads cool gradually—don’t dunk them in water.
Hardware pulls out: If the hole is too close to the edge, it can tear. Reinforce by ironing a small circle of beads around the hole, or attach the keyring to a bead in the center of the design.
Colors look dull: Over-ironing can cause beads to lose their shine. Iron just until the beads fuse, and avoid pressing the iron directly on the beads without paper.
Conclusion
Making matching fuse bead keychains is a rewarding project that combines creativity with practicality. By planning your designs together, choosing a cohesive color palette, and following consistent ironing and assembly steps, you’ll create a pair that stays matched and withstands daily wear. Whether you’re making them for a friend, a partner, or a group, the effort you put into the details will show. So gather your beads, pick a theme, and enjoy the process of crafting something that celebrates connection.