A family fuse bead craft session can be a wonderful way to unplug, create together, and make something tangible. But without a plan, it can quickly turn into a scramble for pegboards, spilled beads, and frustrated kids. The key is to organize the session around your family’s ages, attention spans, and space. This guide walks you through a practical setup that keeps the focus on fun and creativity, not chaos.
1. Choose the Right Space and Time
Fuse beads require a flat, stable surface and good lighting. A dining table works well, but you’ll want to protect it. A simple cotton tablecloth or a large silicone mat catches stray beads and makes cleanup easier. Avoid carpeted areas if possible; beads that fall on carpet are nearly impossible to retrieve.
Timing matters too. Young children are often freshest in the morning, while older kids may enjoy an afternoon session. Aim for a window when everyone is fed and not overly tired. A 45- to 60-minute block is usually enough for one or two projects. If you have toddlers, consider a shorter session or let them participate with larger beads and close supervision.
2. Gather Supplies and Set Up Stations
Before calling everyone to the table, gather all materials. You’ll need fuse beads, pegboards, tweezers, ironing paper, and an iron. For a smooth session, create individual stations: each person gets a small tray or shallow bowl for their beads, a pegboard, and a pair of tweezers. This reduces reaching and arguments over shared items.
If you’re new to fuse beads, a quick refresher on the basics can help. The team at matching supplies at Fusedots offers clear guidance on bead sizes, pegboard types, and ironing temperatures, which is useful when you’re setting up for mixed ages. For example, younger children may need larger beads (midi or maxi) that are easier to handle, while older kids can work with mini beads for detailed designs.
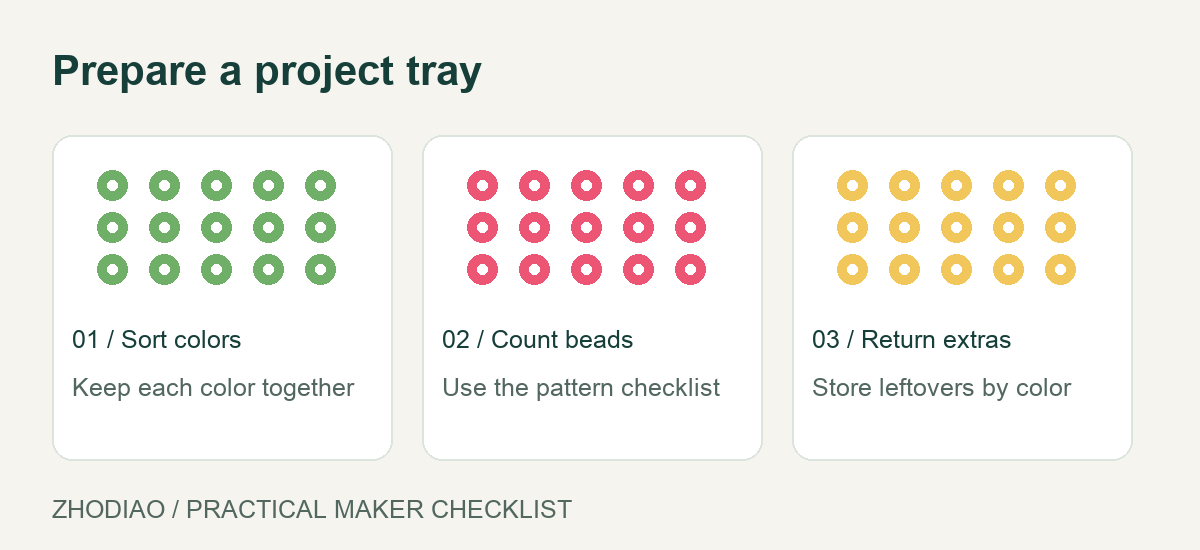
Set out a central caddy with sorted bead colors. You can use a tackle box, a muffin tin, or small zip-top bags. Sorting beads by color before the session saves time and frustration. If you don’t have a sorting system yet, color palettes can inspire which shades to keep on hand.
3. Match Projects to Ages and Interests
One of the biggest reasons craft sessions fail is that the project is too hard or too easy. Before the session, pick two or three design options and let each person choose. Keep a mix of simple and complex patterns available.
For young children (ages 4–6)
- Use large beads and simple shapes like hearts, stars, or circles.
- Provide a pattern outline taped under a clear pegboard to guide placement.
- Focus on the process, not the finished product. A half-filled board is still a success.
For tweens and teens
- Offer pixel art designs, characters, or geometric patterns.
- Encourage them to create their own patterns using graph paper.
- Introduce 3D projects like small boxes or stand-up figures.
If you need inspiration, browse free patterns to find designs that suit different skill levels. Having a printed pattern at each station helps kids work independently.
4. Manage the Ironing Station Safely
Ironing is the step that turns beads into a permanent creation, and it requires adult supervision. Set up the ironing station away from the main craft table to avoid accidents. You’ll need an iron set to medium heat (no steam), ironing paper, and a heat-safe surface.
Work one project at a time. Place the ironing paper over the beads and iron in circular motions for about 10–20 seconds, until the beads are fused. Let it cool completely before removing the paper. If you’re unsure about settings, matching supplies at Fusedots has detailed ironing instructions that can prevent common mistakes like over-melting or under-fusing.
While you iron, keep other children occupied with a second activity, such as sorting beads or starting a new pegboard. This prevents crowding around the hot iron.
5. Keep the Session Flowing with Simple Routines
Structure helps everyone know what to expect. Start with a 5-minute demo of the project, then let everyone work. Circulate to help with tricky spots. After 30 minutes, take a short break for a snack or stretch. This resets attention and reduces restlessness.
Use a timer for clean-up. A two-minute warning gives kids time to finish their current row. Then, have everyone help sort unused beads back into containers and stack pegboards. A small vacuum or lint roller can pick up stray beads quickly.
6. Troubleshooting Common Issues
Even with planning, hiccups happen. Here’s how to handle a few common ones:
- Beads won’t stay in place: Check that the pegboard is clean and dry. Static can make beads jump; a dryer sheet rubbed on the board can help.
- Ironing leaves beads flat: You may be pressing too hard or too long. Use light pressure and check every 5 seconds.
- Kids lose interest: Switch to a simpler design or let them free-build. The goal is enjoyment, not perfection.
- Fighting over colors: Assign each person a small set of colors, or use a shared caddy with clear rules for taking turns.
For more tips on materials and techniques, the materials guide can help you choose the right beads and tools for your family.
7. Make It a Regular Ritual
Once you’ve hosted one successful session, repeat it. A monthly fuse bead afternoon gives everyone something to look forward to. You can theme sessions around holidays, seasons, or favorite movies. Over time, you’ll build a collection of handmade decorations, keychains, and gifts.
Keep a dedicated storage bin with all supplies so setup takes minutes, not hours. Label containers by color or size. Encourage kids to design their own patterns between sessions and bring them to the next gathering.
Conclusion
Organizing a family fuse bead craft session is about creating a calm, creative environment where everyone can participate at their own level. With the right space, prepared stations, age-appropriate projects, and a safe ironing routine, you’ll turn a potentially messy activity into a cherished family tradition. Start small, stay flexible, and enjoy the colorful results together.