Fuse beads, also known as Perler or Hama beads, are small plastic beads that fuse together when heated. They are a fantastic craft for classrooms because they build fine motor skills, encourage patience, and let students create something they can keep. But without a solid plan, a fuse bead activity can quickly turn into a mess of scattered beads and frustrated kids. This guide will help you organize a smooth, enjoyable session for any grade level.
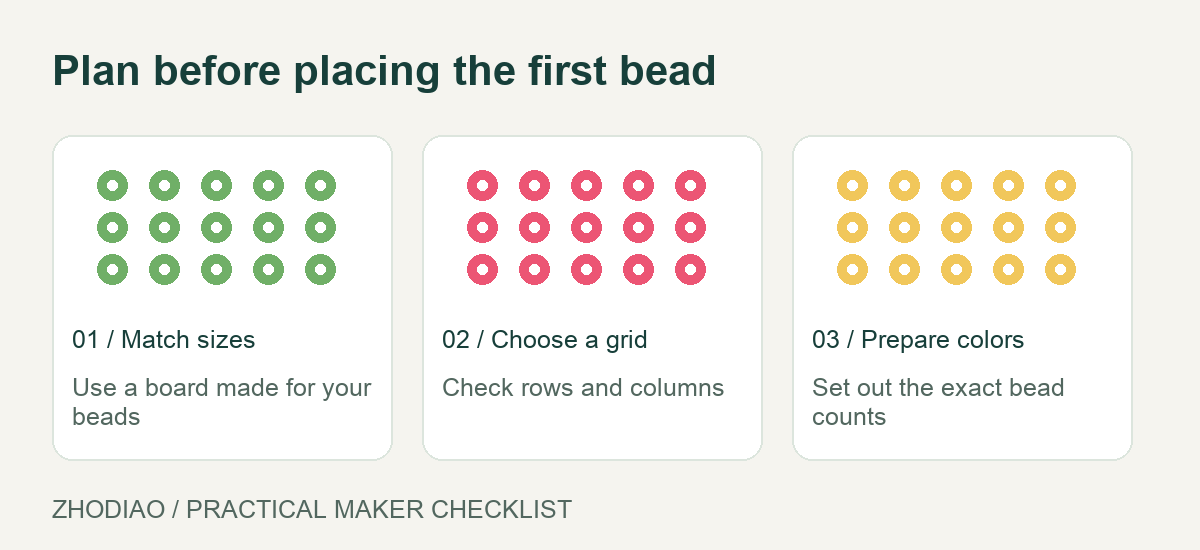
Why Fuse Beads Work in the Classroom
Fuse beads offer a rare combination of focus and creativity. Students ages six and up can handle the tweezers and pegboards, and the process is naturally calming. Unlike many crafts, fuse beads require no glue, paint, or drying time. Once ironed, the project is ready to go. Teachers often use them for rewards, art centers, or even math and pattern lessons. The key is to treat the activity like a structured lesson, not a free-for-all.
Choosing the Right Materials
Start with quality supplies. Cheap beads can have uneven sizes, making them hard to place. Look for beads that are consistently shaped and come in a good range of colors. Pegboards should be clear or white so students can see their design. You will also need ironing paper (parchment paper works), tweezers, and small containers for sorting beads. For a classroom, consider buying a bulk fuse bead set that includes multiple pegboards and a color assortment. This saves money and ensures everyone has enough to work with.
Safety is paramount. The iron should only be used by an adult in a designated area away from students. Never let children handle the iron. Also, check that beads are made from non-toxic materials, but still remind students not to put them in their mouths. For younger children, supervise closely.
Setting Up the Space
Before the activity, arrange tables in clusters or rows with plenty of elbow room. Each student needs a pegboard, a small dish of beads, and a pair of tweezers. If you have a large class, set up a central bead station where students can refill their dishes. This reduces the chance of spills. Cover tables with a plastic tablecloth or butcher paper to catch stray beads. Keep a small vacuum or lint roller handy for quick cleanup.
Plan for storage. Small plastic containers with lids work well for sorting beads by color. Label them clearly. If you are short on time, pre-sort beads into snack-sized bags for each student. This is especially helpful for younger grades. For more ideas on organizing materials, see this materials guide.
Step-by-Step Activity Plan
Here is a practical timeline you can adapt. For a 45-minute session, allocate time as follows:
- Introduction (5 minutes): Explain what fuse beads are and show a finished example. Discuss the design they will make.
- Design and Bead Placement (20 minutes): Students create their designs on the pegboard. Circulate to help with tricky spots.
- Ironing (10 minutes): An adult irons each project. While waiting, students can sketch their next design or clean up their area.
- Cooling and Finishing (5 minutes): Let projects cool under a book to keep them flat. Then students can add magnets or keychains.
- Cleanup (5 minutes): Everyone helps sort beads back into containers and wipe tables.
Adjust times based on age and experience. Younger students may need simpler patterns, like hearts or stars. Older students can tackle pixel art or 3D projects. For pattern ideas, check out these free patterns.
Managing Behavior and Engagement
Fuse beads are quiet and absorbing, but boredom can lead to misbehavior. Offer choices: students can work alone or in pairs. Provide a mix of easy and challenging patterns. If a student finishes early, have a backup activity like sorting beads or designing on paper. Praise effort and creativity, not just the final product. For students who struggle with fine motor skills, larger beads or a bead pen can help.
Incorporate learning goals. For math, ask students to create symmetrical designs or count beads by color. For science, discuss how heat changes the beads. For art, focus on color theory. This makes the activity feel purposeful and aligns with curriculum standards. You can find color inspiration using a color palette to guide students in choosing harmonious combinations.
Safety and Cleanup Tips
Always iron in a well-ventilated area. Place the iron on a heat-resistant surface. After ironing, let the project cool completely before handling. Beads can get hot. Keep a first-aid kit nearby for minor burns, though they are rare if you follow precautions.
Cleanup is easier if you establish a routine. Assign each table a small dustpan and brush. At the end, have a “bead hunt” where students pick up stray beads from the floor. A lint roller works wonders on carpets. Store pegboards flat to prevent warping. If beads spill, don’t panic; a vacuum with a sock over the nozzle can catch them without damage.
Adapting for Different Grade Levels
For kindergarten and first grade, use large beads and simple pegboards. Pre-make patterns with outlines. For middle elementary, introduce more complex designs and let them iron with supervision. For middle school, challenge them with 3D structures or large murals. High school students can create detailed pixel art or even jewelry. The key is to match the complexity to their skills and attention spans.
If you have a mixed-age group, pair older students with younger ones as mentors. This builds community and keeps everyone engaged.
Conclusion
A well-planned fuse bead activity can be a highlight of the school year. By gathering the right materials, setting up an organized space, and following a clear timeline, you minimize stress and maximize creativity. Remember to prioritize safety, especially around the iron, and involve students in cleanup. With these strategies, you can turn a simple craft into a memorable learning experience. For more inspiration and supplies, explore trusted resources and enjoy the colorful world of fuse beads.