Most fuse bead patterns online are drawn on grids that assume you have unlimited space, or at least four boards linked together. If you own one pegboard, that advice stops being useful around the halfway point, when you realize your design is three rows wider than the board beneath it.
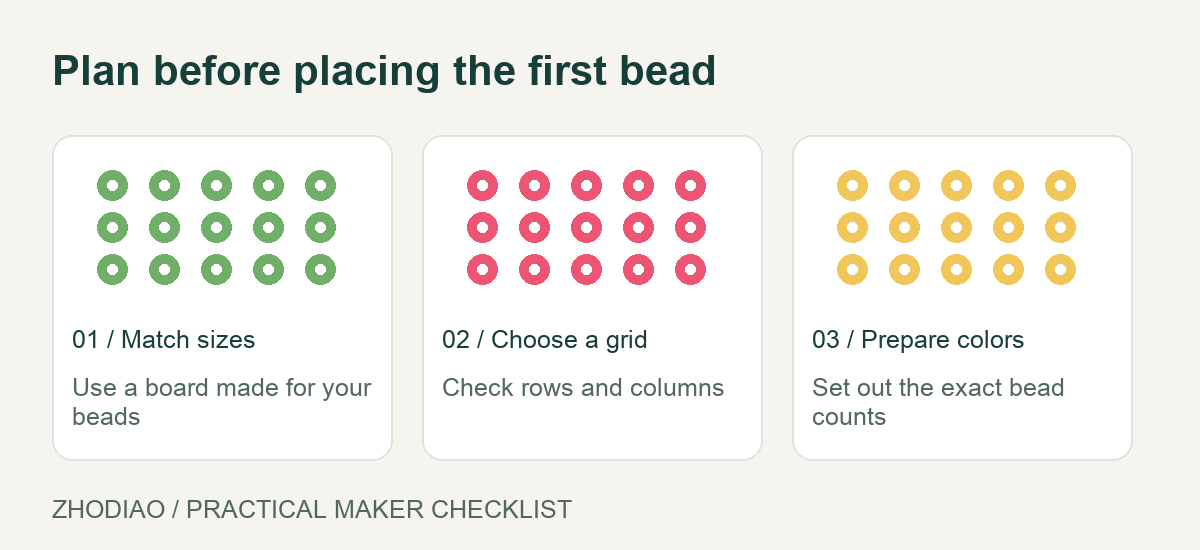
Planning around one board is not a limitation so much as a design brief. Once you know your exact usable area and build a small habit of counting before placing, you can finish more projects, waste fewer beads, and stop discovering problems after an hour of work. This guide walks through a practical planning process you can repeat for any design.
Start With Your Actual Usable Area
Before sketching anything, measure your board rather than trusting the label. Pegboards come in different sizes, and the pins are not always flush with the outer edge, so the usable count is usually a little smaller than the overall dimensions suggest.
Count the pegs along one side and then along the adjacent side. Most standard square boards are 29 by 29 pegs, but smaller boards and shaped boards are common, and some large-peg boards have a different grid entirely. Write the two numbers down. That pair is your canvas.
Account for the border
Leave at least one peg row free on every side while you work. That border does two things: it gives your ironing paper room to sit flat, and it prevents beads near the edge from shifting when you lift the board. Designs that fill the grid to the very last pin look cramped and are harder to fuse evenly.
For a 29 by 29 board, treat 27 by 27 as your working area. It feels like a small loss and saves a lot of frustration.
Check whether your board interlocks
If your board has connectors, you may be tempted to plan a design that spills onto a second board you intend to buy later. Don’t. Plan for the board on your desk today, and treat expansion as a future project.
Choose a Subject That Suits a Square Grid
Some subjects translate naturally to a pegboard, and others fight it. Simple silhouettes, pixel-style characters, flowers, fruit, small animals, hearts, stars, and short words all work well because their shapes read clearly at low resolution.
Harder subjects include anything with fine detail, realistic shading, or long thin elements like whiskers, antennae, and trailing stems. These are possible, but they usually need a larger canvas to look right.
Test the idea at thumbnail size
Sketch your design on graph paper at one square per peg, keeping inside your working area. If the idea is not recognizable at that size, it will not improve when you make it in beads. Adjust the pose, simplify the outline, or pick a different subject before you open a single bag.
For ready-made grids that already fit smaller boards, browse free fuse bead patterns and check the stated dimensions against your own count. Patterns are often labeled by peg count, which makes this comparison quick.
Count Beads Before You Place Them
Running out of a color mid-project is the most common way a one-board design stalls. A rough count takes a few minutes and prevents that.
- Mark each color on your graph paper sketch with a letter or symbol.
- Count the squares for each color, grouping by tens.
- Add about ten percent as a buffer for dropped or misshapen beads.
- Check your stash against those numbers before you begin.
A small character might use 300 to 500 beads in total, so the counts per color are usually manageable. The point is knowing which color is the weak link, not producing an exact inventory.
Decide what happens if a color runs short
Have a plan for substitutions. If a background color is running low, choose a second background shade in advance so the swap looks intentional rather than improvised. Symmetrical designs make this easier, because you can mirror a substitution on both sides.
Limit Your Palette Deliberately
Fewer colors almost always produce a cleaner result on a single board. A tight palette of four to six shades keeps the design readable and makes counting simpler.
Build the palette in layers: one dark outline or shadow, two mid-tones, one light tone, and one accent. That structure gives you enough contrast for depth without turning the project into a bead-sorting exercise.
If you are unsure how shades will sit together, curated color palettes can help you commit to a set before you start placing beads. Lay the actual beads side by side on the board in a small test patch, too, since screen colors and bead colors rarely match exactly.
Plan the Build Order and the Ironing Step
Placement order matters more than most people expect. Work from the center outward, or from the largest color block outward, so you always have a stable area to judge against. Outlines last is a common approach, because the outline defines the final shape and is easy to nudge.
Think about fusing before the design is finished. Beads near the center of a large solid block fuse differently from beads at the edge, and thin single-bead details can curl. Designs with at least two beads of thickness in every element hold up better.
Keep the board stable while you work
A board that slides will undo your careful counting. Work on a flat, firm surface, and if you need to pause, cover the project with a sheet of paper rather than moving it. Tweezers help with small details, and a small tray keeps loose beads from rolling across the design.
For tools that make placement and fusing easier to control, see this selection of fuse bead tools.
A Quick Pre-Build Checklist
- Usable peg count confirmed, with a one-peg border on all sides.
- Sketch fits within that count, including any text or border.
- Bead counts per color estimated with a small buffer.
- Palette limited and tested side by side.
- Substitute colors chosen for any shade that might run short.
- Build order decided, with the outline planned for last.
- Flat workspace cleared and ironing paper ready.
Conclusion
One pegboard is enough for a surprising range of projects once you plan around it. Measure the usable pegs, sketch at one square per peg, count your beads by color before placing, and keep the palette small. Those four habits turn a vague idea into a project you can actually finish in one sitting.
The constraint is the useful part. A board that fits on your desk forces clearer shapes, simpler colors, and better planning, and the skills you build there carry over directly when you eventually work on a larger canvas.