A fuse bead station can be the quiet, focused heart of a birthday party — or the messiest corner of the room within ten minutes. The difference comes down to planning: how many beads you set out, how the tables are arranged, who handles the iron, and what kids actually take home. This guide walks you through a practical setup that works for a mixed-age group and doesn’t require you to hover over every tray.
Start With the Guest List and Age Range
Before you buy anything, work out who will actually sit down at the table. Fuse beads suit a wide range of ages, but the experience changes a lot between a five-year-old and a ten-year-old.
- Under 6: Large beads and simple pegboards are easier for small hands. Expect more sorting and stacking than finished designs. An adult should handle the ironing entirely.
- 6–9: This is the sweet spot. Most kids can follow a pattern, place beads with tweezers, and wait for an adult to iron.
- 10 and up: Older kids want bigger projects, pixel-art characters, or keychains. They may also want to iron their own work with close supervision.
Plan for roughly 60–70% of guests to use the station at any one time. Some kids will drift in and out, and a few will camp there for the whole party — build in enough seats for the campers plus a few drop-ins.
Build a Realistic Supply List
Under-buying creates bottlenecks; over-buying leaves you with a cupboard full of loose beads. Aim for a middle ground based on the number of seats, not the number of guests.
Beads and Boards
- One pegboard per seat, plus two spares for kids who finish early.
- A shared bead supply rather than individual tubs. Divide beads into shallow trays or muffin tins by color so kids can reach in without dumping a whole container.
- For a group of ten, a few thousand beads in a dozen popular colors covers most designs comfortably. A broad color range matters more than sheer volume — see these color palettes for combinations that look good together.
Tools That Prevent Frustration
- Tweezers for every second seat. They make small beads far less fiddly.
- Small scoops or spoons for returning stray beads to trays.
- Ironing paper, a clean iron, and a heat-safe surface kept on a separate adult-only table.
- Small plates or trays to carry finished boards to the ironing area.
If you need to stock up, the fuse bead tools category covers the basics, and keychain hardware turns finished pieces into party favors.
Design the Layout Before the Day
The physical setup decides whether the station runs itself or needs constant rescue. Three zones work well:
- The build zone: A long table with pegboards, tweezers, and shared bead trays. Keep it away from the food table so crumbs and drinks stay clear.
- The ironing zone: A separate small table near a power outlet, staffed by one adult. Nothing crosses between the two zones except finished boards on trays.
- The holding zone: A labeled tray or sheet of paper where finished, cooled pieces wait until home time.
Cover the build table with a plain tablecloth in a light color — stray beads show up instantly, and a quick lift-and-shake at the end collects them. Put a small container at each end of the table for dropped beads so kids have somewhere to put them instead of leaving them on the floor.
Choose Projects That Fit the Party Timeline
A party station isn’t a craft class. Kids need something they can finish in 10–20 minutes, or something they can pause without losing progress.
Good Choices
- Simple shapes: hearts, stars, initials, flowers, and smiley faces.
- Small keychains and bag charms made on mini pegboards.
- Coasters and bookmarks using a single board.
Poor Choices
- Large multi-board designs that need hours of placement.
- Projects requiring many exact shades — you’ll run out of one color and stall.
- Anything that needs ironing in multiple stages while a queue forms.
Print a handful of simple reference cards and tape them to the table, or browse free patterns and pre-select five or six that suit the age group. Having a short menu keeps decision time down and prevents the “I don’t know what to make” spiral.
Set Up a Safe, Simple Ironing Workflow
Ironing is the part that needs an adult every time. Make it a one-way process so nobody crowds the iron.
- Child finishes a board and places it on a small tray.
- Child brings the tray to the ironing table and leaves it there.
- The adult covers the design with ironing paper and fuses it in short, even passes.
- The piece goes under a book or flat weight to cool and stay flat.
- Once cool, it’s returned to the holding zone with the child’s name on a sticky note.
Keep the iron on a low-to-medium setting and never leave it unattended. If older kids want to try ironing, have them do it beside you with a hand on the iron, and only after they’ve watched the process a few times. If you’re new to the technique yourself, this beginner guide covers fusing basics before the party.
Plan the Handoff and Cleanup
The station ends well when every child leaves with their work and you’re not picking beads out of the carpet at midnight.
- Name everything. Sticky notes on the holding tray prevent the classic “that’s mine” dispute.
- Bag finished pieces. Small paper bags or zip bags with a name written on them make party favors feel intentional.
- Do a five-minute sweep. Assign one adult to walk the floor with a torch for stray beads while kids move to cake.
- Sort, don’t dump. Tip trays back by color into labeled bags; mixed beads are much harder to use next time.
If you want to extend the craft beyond the party, a small take-home bag of beads and a mini board keeps the activity going without the mess at your house.
Final Checklist
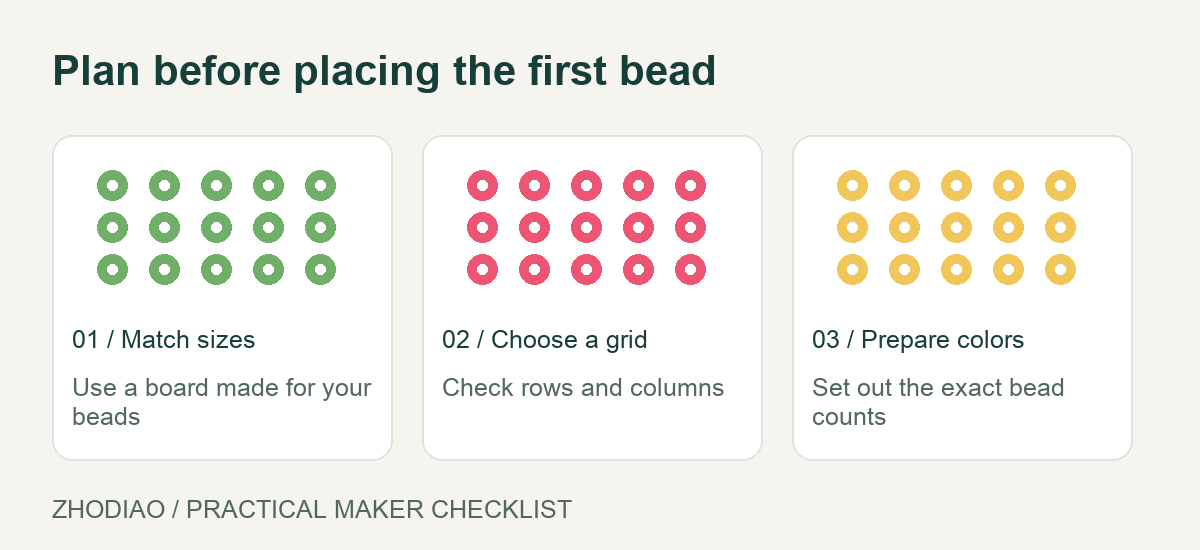
A fuse bead station works when the setup does the managing. Confirm you have enough seats, one pegboard per seat plus spares, shared bead trays sorted by color, tweezers, ironing paper, a separate adult-staffed ironing table, a holding zone with name labels, and a printed menu of simple designs. Set it up before guests arrive, brief one helper on the ironing workflow, and let the table run itself. With that structure in place, the station becomes the calm corner of the party — and the pieces kids take home become the souvenir they actually keep.