Fuse beads are tiny, plentiful, and easy to spill. Without a dedicated, organized workspace, your crafting sessions can turn into a scavenger hunt for the right color or a frantic search for your tweezers. A well-planned setup not only keeps your supplies tidy but also makes the hobby more enjoyable and efficient. Whether you are a beginner with a small starter kit or a seasoned crafter with dozens of colors, this guide will help you create a fuse bead workspace that stays organized.
Choose the Right Location and Surface
The first step is finding a spot that suits your crafting style. You don’t need a whole room—a corner of a desk, a folding table, or even a dedicated tray on a shelf can work. The key is consistency: if your supplies have a home, they are more likely to be put back.
Consider these factors when choosing your location:
- Lighting: Good lighting is essential for distinguishing similar colors and seeing small beads. A desk lamp with a daylight bulb works well.
- Comfort: You’ll be leaning over your project, so a comfortable chair and a surface at the right height matter. An adjustable chair or a raised work surface can reduce strain.
- Accessibility: Keep frequently used items within arm’s reach. If you have to get up constantly, you’re more likely to leave things out.
- Protection: Cover your surface with a mat or a piece of felt to catch stray beads and protect the table from heat (when ironing) and scratches.
If space is tight, a portable setup—like a large tray or a craft cart—lets you pack everything away when needed. The goal is to make setup and cleanup quick and easy.
Sort and Store Your Beads
Bead storage is the heart of an organized workspace. With hundreds or thousands of tiny beads, a good sorting system saves time and prevents mix-ups.
Containers for Every Need
There are many storage options, from small screw-top jars to compartment boxes and bead organizers. Choose containers that are:
- Transparent: So you can see the color without opening them.
- Stackable or compartmentalized: To maximize space and keep colors separate.
- Easy to open and close: For quick access during projects.
A popular approach is a multi-drawer unit or a compartment box with individual sections for each color. Label each section clearly—especially if you use similar shades. For larger collections, a bead storage binder with zip bags can work well.
Sorting by Color and Project
Organize beads by color family (e.g., all reds together) or by project. If you often work on multiple projects, consider a project-based system: a small box or bag for each active project containing only the beads needed. This reduces clutter and makes it easy to switch between projects.
For inspiration on color combinations and palettes, see our color palettes resource. It can help you plan which colors to keep accessible.
Managing Spills and Strays
Spills happen. Keep a small handheld vacuum or a lint roller nearby to pick up stray beads. A tray with raised edges under your pegboards can contain rolling beads. Also, consider a bead scoop or a small funnel to make transferring beads easier and less messy.
Organize Your Tools and Materials
Beyond beads, you need a place for pegboards, tweezers, ironing paper, and other tools. Here’s how to keep them organized:
- Pegboards: Store them flat to prevent warping. A shallow drawer or a file organizer works well. If you have multiple boards, stack them with a sheet of paper between them to avoid scratching.
- Tweezers and small tools: Keep them in a cup or a small drawer organizer. Having a dedicated spot prevents them from getting lost under beads.
- Ironing paper and iron: Store ironing paper flat in a folder or a large envelope. Keep your iron in a safe place, away from beads, and follow the manufacturer’s instructions for use.
- Patterns and references: A binder or a folder for printed patterns keeps them tidy and prevents them from getting crumpled. For digital patterns, a tablet stand can keep your reference at eye level.
If you’re looking for tools to complete your setup, browse our fuse bead tools category for ideas.
Create a Workflow That Prevents Clutter
An organized workspace isn’t just about storage—it’s about habits. A simple workflow can keep your area tidy during and after each session.
Set Up a “Working Tray”
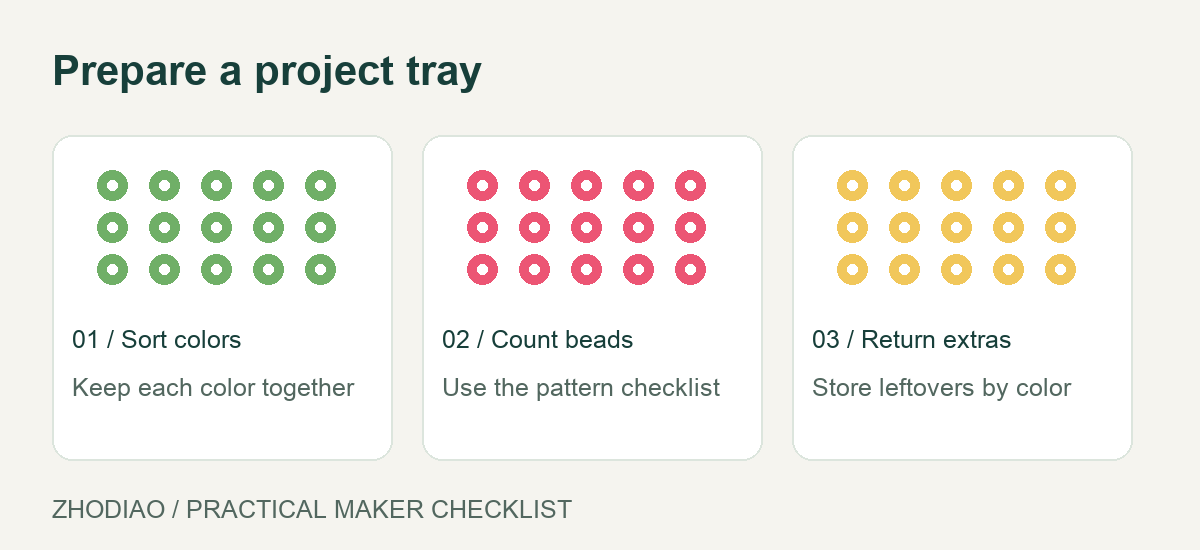
Use a tray or a mat as your active work zone. Place only the beads and tools you need for the current project on it. When you finish, everything goes back to its home. This visual boundary helps contain mess.
Adopt a “Clean as You Go” Routine
Spend a few minutes at the end of each session to return beads to their containers and wipe down the surface. This small habit prevents accumulation and makes starting the next project more pleasant.
Use Labels and Color Coding
Label drawers and containers clearly. If you have many similar colors, consider adding a small dot of the bead color on the label or using colored stickers. This speeds up selection and reduces errors.
Keep a Small “Misc” Container
Inevitably, you’ll find stray beads or mixed colors. Keep a small container for these odds and ends. You can sort them later or use them for random projects. This prevents them from cluttering your main storage.
For more ideas on materials and tools that support an organized workflow, visit our materials and tools section.
Maintain Your Organized Workspace
Even the best system needs occasional maintenance. Schedule a monthly or quarterly check-in to:
- Re-sort any mixed beads.
- Wipe down containers and surfaces.
- Check that labels are still legible.
- Remove any broken or unused items.
If your collection grows, reassess your storage. What worked for 20 colors may not work for 100. Upgrade to a larger system or add modular containers as needed.
Conclusion
Setting up an organized fuse bead workspace doesn’t require a big budget or a lot of space—just a thoughtful approach. By choosing a comfortable location, sorting your beads logically, keeping tools accessible, and adopting simple habits, you can create a space that invites creativity rather than frustration. Start with one small change today, and build from there. A tidy workspace makes every project more enjoyable and helps you focus on the fun part: creating.